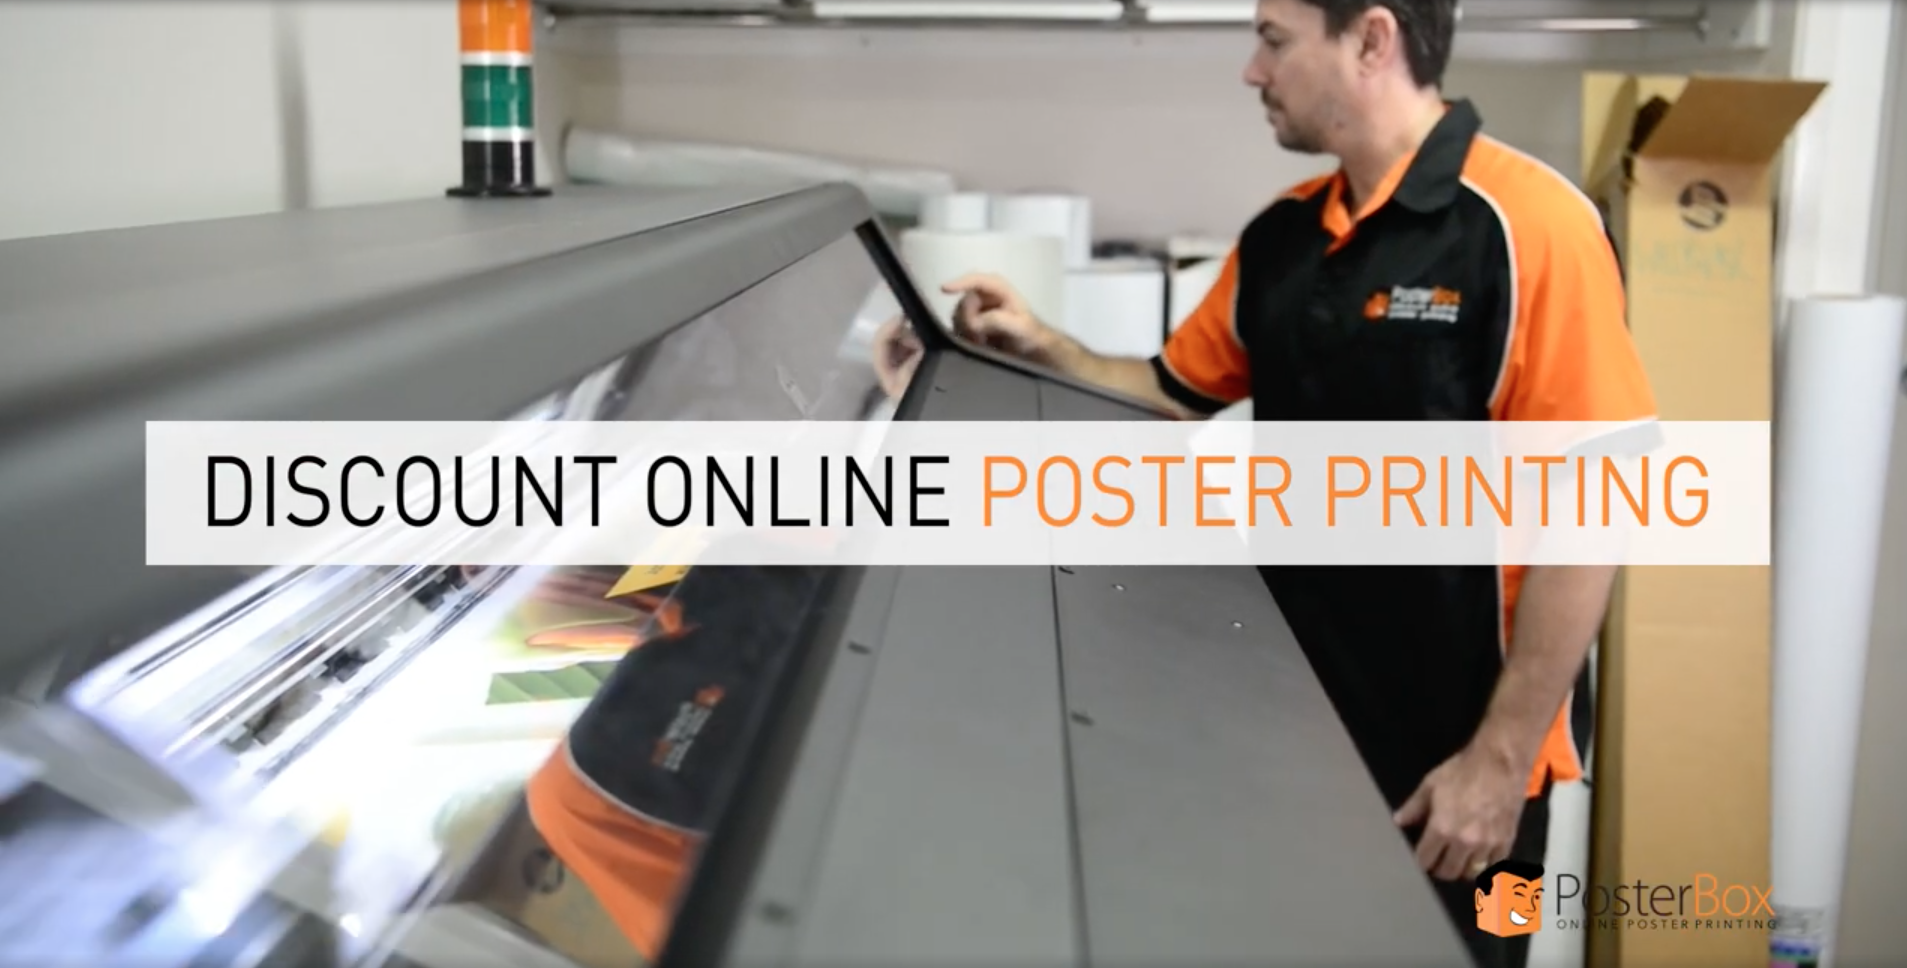
We want to help you create great poster printing files.


![]()
 Image and print quality.
How can I tell if my images/photos will print well?
Please keep this in mind while reading our tips. PosterBox can print your posters from the file you provide regardless of its quality.
The tips we offer here can help ensure your posters will print with high image quality. But not every poster needs to be the highest of quality. Our technology ensures we print the best poster we can from the file you have supplied. In 98% of cases the posters will suit your needs.
Image quality is important for a great poster print.
The simplest way to check the quality of your image is to zoom in on it. Windows Preview works fine. What you are looking for is how quickly the image pixelates.
High quality/resolution: Your image/photo is high quality if you are able to zoom in many times before you see any pixels. In general, photos taken with modern cameras or smart phones are good quality. Always use the maximum resolution version of the image/photo. These images are suitable for quality poster printing.
Low quality/resolution: Your image is low quality if you zoom in once and you see jagged pixels, tiny squares. Or the image becomes blurry. These images can be printed but you will be able to see the pixels. Low resoution images can still look ok when viewed from a distance. The image below shows demonstrates pixels. As the quality improves, from left to right, you can not see any pixels.

More information on pixels can be found below
Do not copy images from websites as you may be infringing copyright. Images/photos copied from websites will print very pixelated.
The printed size of your image/photo.
Another factor of image quality is the size the image is on your poster. For example: Say you are printing a large A0 poster. If your image covers the whole poster you will need a very high resoution image. Conversely if your image(s) are a small area of the poster then you do not need very high resolution images/photos.
Making an image bigger: If a image/photo's original measurements are 10 x 15cm at 300dpi (dots per inch). If you enlarge it to print at 30 x 45cm, the image when printed will be at 100dpi. A reduction in quality
Making an image smaller : If a image/photo's original measurements are 1mtr x 60cm at 72dpi. If you reduce it to print at 50 x 30cm the print resolution would be 144dpi. An improvement in quality
PosterBox recommends a minimum of 150dpi at print size for all images. The ideal printing resolution for images is 300dpi at the size they are being printed.
A great image can make your poster design leap out at your audience. Want more info on image quality?
 Standard Poster Sizes/Dimensions
- A2 Posters - 594mm x 420mm
- A1 Posters - 840mm x 594mm
- A0 Posters - 1,188mm x 840mm
- B0 Posters - 1,414 x 1,000mm
- B1 Posters - 1,000mm x 707mm
- B2 Posters - 707mm x 500mm
 Page Setup
Set your document to the correct poster size
An often overlooked aspect of designing a poster is setting the correct poster/page size. Setting your document to the correct page size before you start your design is essential.
In programs, such as Word, Publisher, Powerpoint etc, the Page Size can be set in Page Setup. Take your time and explore your options and set your page to the poster size you want. Remember to set the page orientation as well; portait or landscape.
You can choose standard sizes such as A2, A1 and A0. Or create a custom poster size. Non standard poster sizes include 750 x 1000 for shopping centre displays, and 600 x 900mm.
One of the advantages of setting your poster size is image quality. When you place/import your images you will see their 'printing' size. The more you enlarge your images the lower the print quality. Avoid enlarging your images by more than 300%.
If your poster is not the size you need, don't panic, PosterBox can still print your posters. When ordering ask us to enlarge your poster to the correct size. We can only enlarge your poster proportionally.
 Pixels and Vectors
And why is it important to understand the difference.
The key difference between pixel and vector based graphics is how the image is structured.
Pixel based graphics are made up from lots of tiny physical squares (or ‘pixels’)
Vector graphics are mapped out using mathematical equations which calculate where the edges of the shapes sit in relation to one another.
As an example; fonts are always created using vectors so that the colours can be changed efficiently and the symbol can be easily scaled up to any size without losing quality. In contrast, digital photographs are always made up of pixels.
A raster graphic is an image made of hundreds (or thousands or millions) of tiny squares of colour information, referred to as either pixels or dots.
Pros of Raster Images
Rich Detail: Ever wondered what the term “dpi” stands for? It means “dots per inch,” a measurement of how much detailed colour information a raster image contains. Say you’ve got a 1” x 1” square image at 300 dpi—that’s 300 individual squares of colour that provide precise shading and detail in your photograph. The more dpi your image contains, the more subtle details will be noticeable.
Precise Editing: All of those individual pixels of colour information can also be modified, one by one. So if you’re a true perfectionist, the level of editing and customization available in a raster image is almost limitless.
Cons of Raster Images
Blurry When Enlarged: The biggest downfall to raster images is that they become pixelated (aka grainy) when enlarged. Why is this? Well, there are a finite number of pixels in all raster images; when you enlarge a photo, the computer takes its best guess as to what specific colors should fill in the gaps. This interpolation of data causes the image to appear blurry since the computer has no way of knowing the exact shade of colours that should be inserted.
Large File Size: Remember how a 1” x 1” square at 300 dpi will have 300 individual points of colour information for the computer to remember? Well let’s say you have an 18” x 24” photo— that’s 129,600 bits of info for a computer to process which can quickly slow down even the fastest machine.
Vector
A vector graphic uses math to draw shapes using points, lines and curves. So whereas a raster image of a 1” x 1” square at 300 dpi will have 300 individuals pieces of information, a vector image will only contain four points, one for each corner; the computer will uses math to “connect the dots” and fill in all of the missing information.
Popular vector file format extensions include: eps, ai and pdf.
Pros of Vector Images
Infinitely Scalable: Through the wonders of math (which I don’t claim to understand), vector files can be scaled up or down as much as you want without losing any image quality. Whereas a raster image must guess the colors of missing pixels when sizing up, a vector image simply uses the original mathematic equation to create a consistent shape every time.
Smaller File Size: Using our previous 1” x 1” square example, a vector file needs only four points of data to recreate a square versus 300 individual pixels for a raster image. For simple graphics, like geometric shapes or typography, this means a much smaller file size and faster processing speed.
Edibility: Unlike popular raster-based formats, such as a jpg or png, vector files are not “flattened.” When you open them back up in a program such as Adobe Illustrator, all of the original shapes exist separately on different layers; this means you can modify individual elements without affecting other objects in the image
 Colour
Colours can be CMYK or RGB
Your monitor, unless it is well calibrated, is unlikely to be able to produce a 100% accurate representation of the colours you have used in your poster design when printed. A quick overview of Colour Theory well help to explain why.
The colour that you see on a monitor is created using light projected, or additive colour model; whereas the colour created by a printed document is reflected light–the subtractive model.
When designing a poster you use a monitor which uses the additive colour model (Red Green Blue) to create the colour you see on screen. When printing the subtractive colour model (Cyan Magenta Yellow K Black) is used. The difference in the two models is highlighted by these images. When pure red, green and blue are added together in equal strength, white is created. Conversely when Cyan, Magenta and Yellow are mixed black is created–well a dark grey–and this is why printers use K (black) in printing. Colour can easily be taken for granted but if you were to investigate colour you would find countless years/decades of research and development, and that's just in the printing industry, all to make sure colours print consistently
So while the colour you have chosen looks great on the screen, eg a bright blue, it may not print as bright as you see it on your screen. It will still print blue but maybe just a little different to the blue you see on screen. Use your monitor as a guide only.
Graphic designers and clients who use software such as InDesign, Illustrator, Quark etc, colours in CMYK with all colours converted to process. If you have designed your entire poster in Photoshop, or require photos to be enlarged you may leave the file(s) in RGB.
Interested in more information on Colour Theory?
PosterBox uses the latest in poster printing technology to produce the best possible results from the files you supply.
PDFs
For the best possible poster prints, we need you to supply your design files as a PDF.
If you don't have your artwork in PDF, see our handy creating print ready PDFs guide.